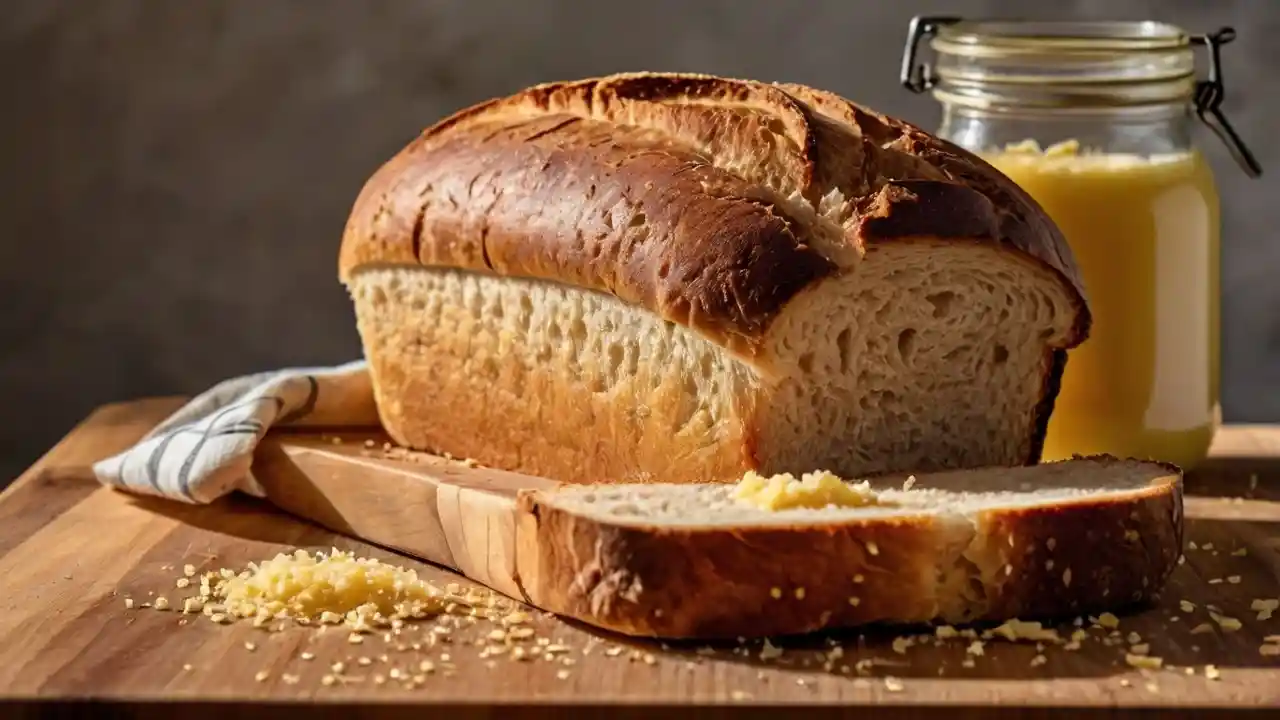
Introduction to Sourdough Sandwich Bread
Bread baking has experienced a renaissance, and there’s no bread quite like sourdough sandwich bread. With its soft, tender crumb and tangy flavor, this bread is perfect for everything from sandwiches to toast. While making sourdough can seem daunting, our foolproof method ensures you’ll achieve bakery-quality bread every time. We’ll walk you through the process step by step, explaining not just the how, but the why behind each step, so you can master sourdough at home.
Table of Contents
- Introduction to Sourdough Sandwich Bread
- The Science Behind Sourdough
- Tools You’ll Need
- Ingredients for Sourdough Sandwich Bread
- Step-by-Step Recipe
- Common Mistakes and Fixes
- FAQ on Sourdough Sandwich Bread
The Science Behind Sourdough
Sourdough is a naturally leavened bread, which means it uses wild yeast and bacteria from a sourdough starter instead of commercial yeast. This starter ferments the dough, creating a unique tangy flavor and a soft, airy texture perfect for sandwich bread.
Hydration plays a crucial role in sourdough baking. A well-hydrated dough encourages the formation of strong gluten strands, which trap gas bubbles and create that light, chewy crumb. For sourdough sandwich bread, we aim for a hydration level of around 70%—enough to produce a tender crumb without the dough becoming unmanageable.
Tools You’ll Need
Before we dive into the recipe, make sure you have the following tools:
- Stand mixer (optional but recommended for consistency)
- Banneton or proofing basket
- Sharp scoring knife
- Dutch oven or baking stone
- Digital scale (crucial for precise measurements)
Using the right tools can make or break your bread baking experience, especially when it comes to developing gluten and achieving the perfect crumb. You can find high-quality baking tools [here].
Ingredients for Sourdough Sandwich Bread
Here’s what you’ll need to make your own sourdough sandwich bread:
- 500g bread flour (strong flour for extra gluten development)
- 150g active sourdough starter (at 100% hydration)
- 300g water (room temperature)
- 10g salt
- 20g olive oil (optional for a softer texture)
Feel free to source high-quality bread flour and other organic ingredients from trusted sources such as King Arthur Flour or Bob’s Red Mill.
Step-by-Step Recipe
1. Feed Your Starter
To ensure your sourdough starter is active, feed it the night before baking. Use equal parts water and flour by weight, and let it sit at room temperature until it doubles in size (usually 4-6 hours).
2. Mix the Dough
In a large bowl or stand mixer, combine the starter, water, and flour. Mix until it forms a shaggy dough. Let it rest for 30 minutes to allow the flour to absorb the water (a process known as autolyse). After the rest period, add the salt and olive oil, and mix until smooth.
3. Stretch and Fold
This step replaces traditional kneading. Over the course of 3-4 hours, you’ll perform 4 sets of “stretch and folds,” each spaced 30 minutes apart. To do this, grab the edge of the dough, stretch it upwards, and fold it over itself. This strengthens the gluten without overworking the dough.
4. Bulk Fermentation
Let the dough rest in a lightly oiled bowl, covered, for 4-6 hours at room temperature, until it doubles in size. For deeper flavor, you can place the dough in the fridge overnight. You can also refer to our previous post about Fermentation.
5. Shaping
Gently deflate the dough and shape it into a loaf. Place it in a well-floured proofing basket or banneton, and cover with a cloth. Allow it to proof for 2-3 hours at room temperature, or refrigerate overnight for a slower rise and tangier flavor.
6. Preheat Your Oven
While your dough is proofing, preheat your oven to 450°F (230°C) with a Dutch oven inside. The hot environment ensures a crisp crust and well-risen loaf.
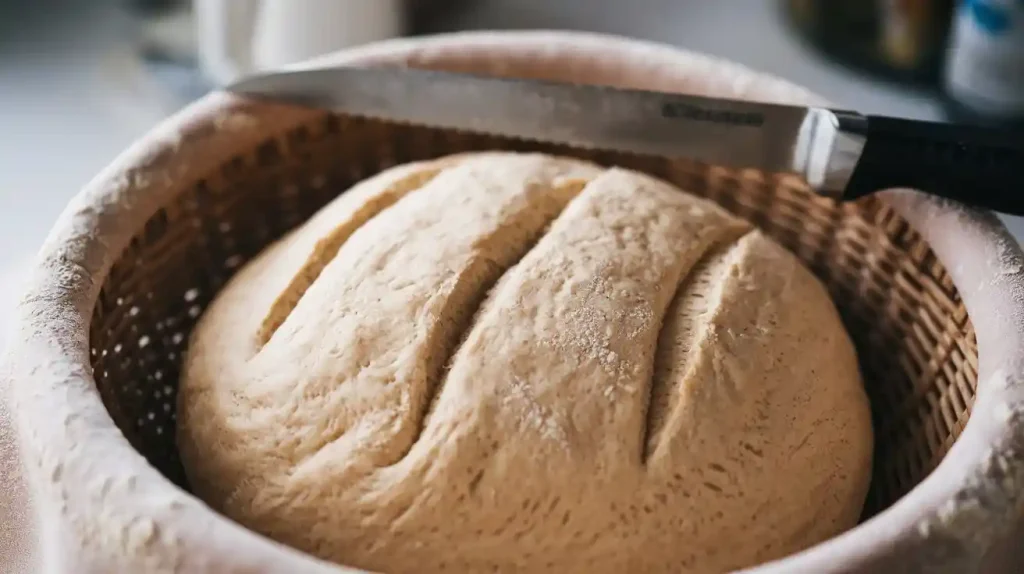
7. Scoring and Baking
Turn your dough out onto parchment paper, and score the top with a sharp knife to allow steam to escape. Transfer the dough (with the parchment) into the hot Dutch oven, cover, and bake for 20 minutes. Remove the lid, and bake for an additional 25 minutes, until golden brown.
Common Mistakes and Fixes
1. Flat Loaf
If your loaf didn’t rise as expected, it could be due to underproofing or an inactive starter. Make sure your starter is bubbly and active before starting the recipe.
2. Dense Texture
A dense texture is often the result of insufficient gluten development. Use the stretch and fold technique properly, and avoid adding extra flour during the mixing process.
3. Crust Too Hard
If your crust is too hard, try lowering the baking temperature slightly or baking with the lid on for a longer period to trap more steam.
For more detailed troubleshooting, you can check out [this article on common sourdough issues].
FAQ on Sourdough Sandwich Bread
How do I store sourdough bread?
Store your bread at room temperature in a paper or cloth bag. Avoid plastic bags, which trap moisture and can lead to a soggy crust.
Can I freeze sourdough bread?
Yes! Freeze it whole or sliced, wrapped tightly in plastic wrap and foil. Thaw it in the fridge or at room temperature.
Do I have to use a Dutch oven?
While a Dutch oven creates an ideal environment for baking, you can also use a baking stone with a tray of water in the oven for added steam.