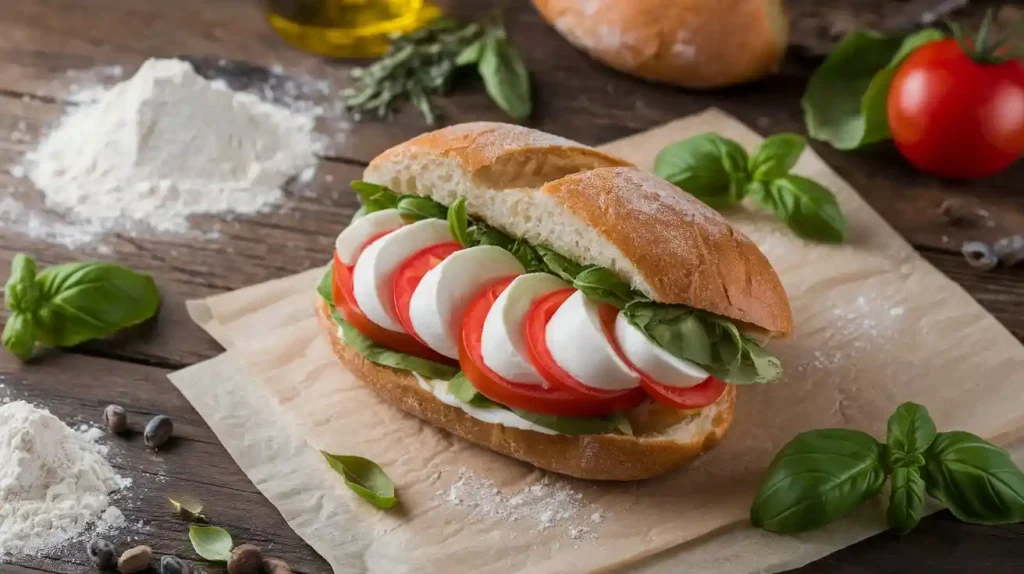
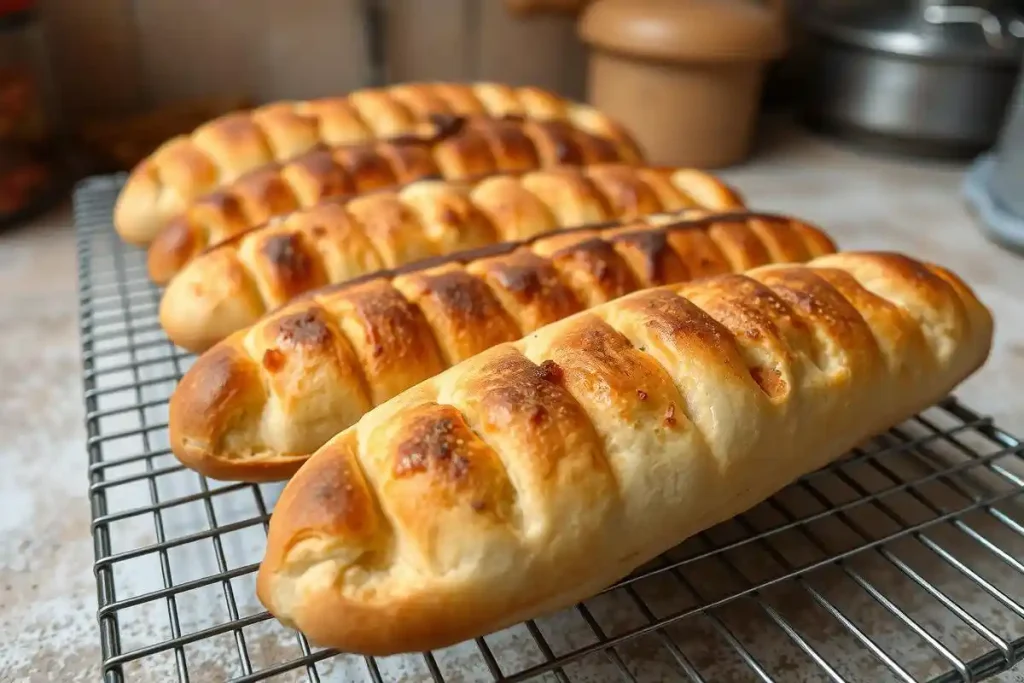
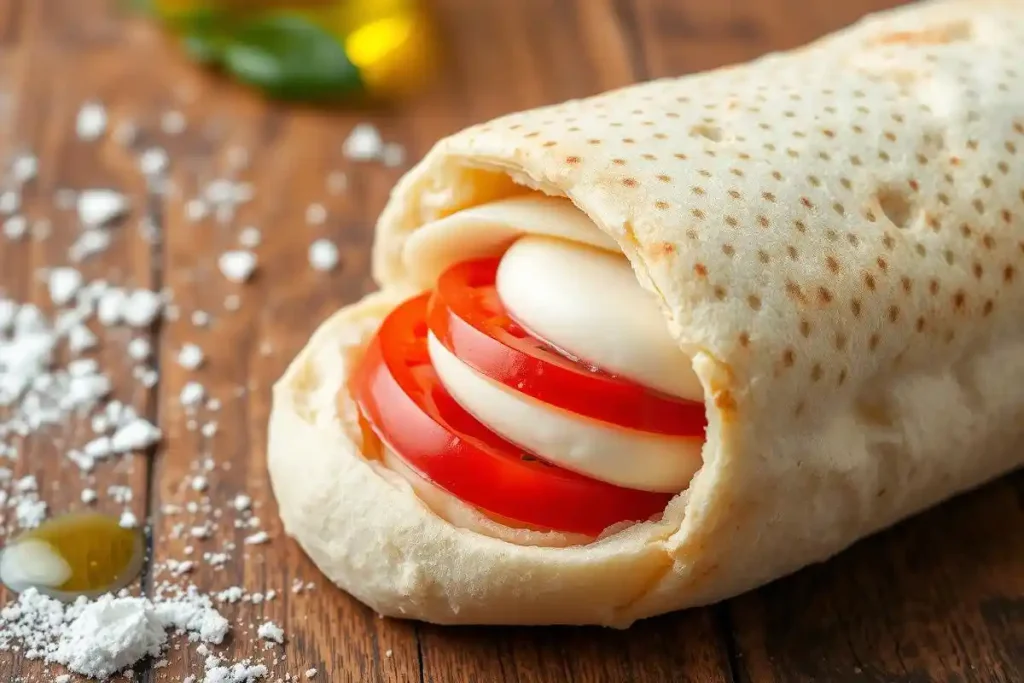
Creating authentic Italian panini rolls at home is a delicious way to bring a bit of Italy into your kitchen. These versatile rolls have a unique, slightly chewy texture that makes them ideal for pressing and grilling, transforming simple fillings into warm, crispy delights. Italian bakers have perfected this bread style for generations, and today, we’ll guide you through the process so you can make bakery-worthy rolls from scratch. With just a few ingredients and some traditional techniques, you’ll be ready to add panini rolls to your list of homemade bread accomplishments.

Table of Contents
- Ingredients Needed
- Essential Techniques for Perfect Panini Rolls
- Step-by-Step Recipe
- Pro Tips for Bread Success
- Additional Recipes to Explore
- Conclusion: Mastering Italian Panini Rolls
Ingredients Needed
Making authentic Italian panini rolls requires only a few ingredients, but each one is essential for achieving the best results. You’ll need:
- Flour: High-quality all-purpose flour or bread flour (check types of flour and equivalents in the U.S. here).
- Yeast: Instant or rapid-rise yeast.
- Water: Room temperature, essential for hydration.
- Olive Oil: For richness and to enhance the Italian flavor.
- Salt: Critical for both flavor and gluten development.
Essential Techniques for Perfect Panini Rolls
To ensure your panini rolls have the perfect texture, mastering a few core baking techniques is important.
- Understanding Dough Hydration: Hydration is crucial for creating rolls that hold their structure when pressed into a panini. For these Italian panini rolls, we’ll aim for about 65% hydration to achieve a balanced crumb that is both airy and chewy. Too much water can weaken the gluten network, while too little can lead to dense rolls.
- Kneading and Gluten Development: Kneading strengthens the gluten structure, essential for the roll’s chewy bite. Using a stand mixer is highly recommended for about 6-8 minutes, or you can knead by hand for around 15 minutes. If you’re kneading by hand, aim for a smooth, elastic dough that feels slightly tacky but not sticky.
- Bulk Fermentation: Allowing the dough to rest and ferment after kneading builds both flavor and structure. For Italian panini rolls, a 1½ to 2-hour bulk rise at room temperature is ideal.
- Shaping for a Perfect Roll: Shape your dough into rounds by tucking the edges under, creating surface tension on top. This method helps the rolls hold their shape during the final rise and while baking.
- Proper Baking Technique: For that golden, crisp crust characteristic of authentic panini rolls, preheat your oven with a baking stone or heavy-duty baking sheet on the bottom rack. Place a water-filled pan on a lower rack to create steam, which will enhance the crust’s texture.
Step-by-Step Recipe
1. Prepare the Dough
- Ingredients:
- 3½ cups bread flour (17½ oz)
- 1¼ cups warm water (10 oz)
- 1½ tsp salt
- 2 tsp instant yeast
- 2 tbsp olive oil
- Instructions:
- In the bowl of a stand mixer, combine the flour, yeast, and salt.
- Slowly add the warm water and olive oil to the dry ingredients, mixing on low speed until the dough starts to come together.
- Increase speed to medium and knead for 6-8 minutes until smooth and elastic. Alternatively, knead by hand on a floured surface for 15 minutes.
2. Bulk Fermentation
- Transfer the dough to a lightly oiled bowl. Cover and let rise at room temperature for 1½ to 2 hours, or until doubled in size.
3. Shape the Rolls
- After the bulk rise, punch down the dough to release gas bubbles. Divide it into 8 equal portions (about 3 oz each).
- Shape each portion into a round roll, creating surface tension by tucking the edges under. Place on a parchment-lined baking sheet.
4. Second Rise
- Cover the shaped rolls loosely with plastic wrap and let rise at room temperature for another 30-45 minutes, or until slightly puffy.
5. Bake
- Preheat your oven to 425°F. Place a baking stone or heavy-duty baking sheet on the bottom rack, and add a shallow pan of water on a lower rack for steam.
- Bake the rolls for 15-18 minutes, or until golden brown. For an even bake, rotate the tray halfway through.
6. Cool
- Transfer baked rolls to a wire rack to cool completely before slicing.

Pro Tips for Bread Success
- Use Fresh Ingredients: Fresh yeast and quality olive oil make a noticeable difference.
- Practice Patience: Take your time with the fermentation process, as it adds depth to the flavor.
- Experiment with Flour Ratios: Try incorporating a bit of whole wheat or rye flour for additional flavor and texture.
- Store Properly: After baking, store the cooled rolls in an airtight bag to keep them fresh.
- Explore Similar Recipes: Try this easy Ciabatta bread recipe for another Italian bread option that pairs well with paninis.
Additional Recipes to Explore
If you enjoyed making authentic Italian panini rolls, these recipes may also interest you:
- Italian Ciabatta: Its porous crumb and unique flavor make it perfect for sandwiches.
- Keto Bread Crumbs: Make low-carb paninis or crumb toppings with these keto bread crumbs.
- More on Paninis: Discover the best paninis in restaurant chains to inspire your next creation.

Conclusion: Mastering Italian Panini Rolls
Crafting authentic Italian panini rolls requires patience and practice, but the result is worth every effort. By following these tips and techniques, you’ll achieve a bakery-quality roll that adds flavor and authenticity to your paninis. Enjoy experimenting with fillings and savor the satisfaction of creating this delicious bread from scratch. Soon, you’ll be making these rolls effortlessly, a testament to the rewarding process of bread-making.


1 thought on “How to Make Authentic Italian Panini Rolls”