Table of Contents
- Introduction: Ethiopian Injera Bread
- A Brief History of Injera
- What Makes Injera Unique?
- Key Ingredient: Teff Flour
- Injera Baking Essentials
- Step-by-Step Guide to Making Injera
- Serving and Enjoying Injera
- Common Injera Mistakes to Avoid
- Related Bread Recipes
- Conclusion: The Magic of Ethiopian Injera Bread
Introduction: Ethiopian Injera Bread
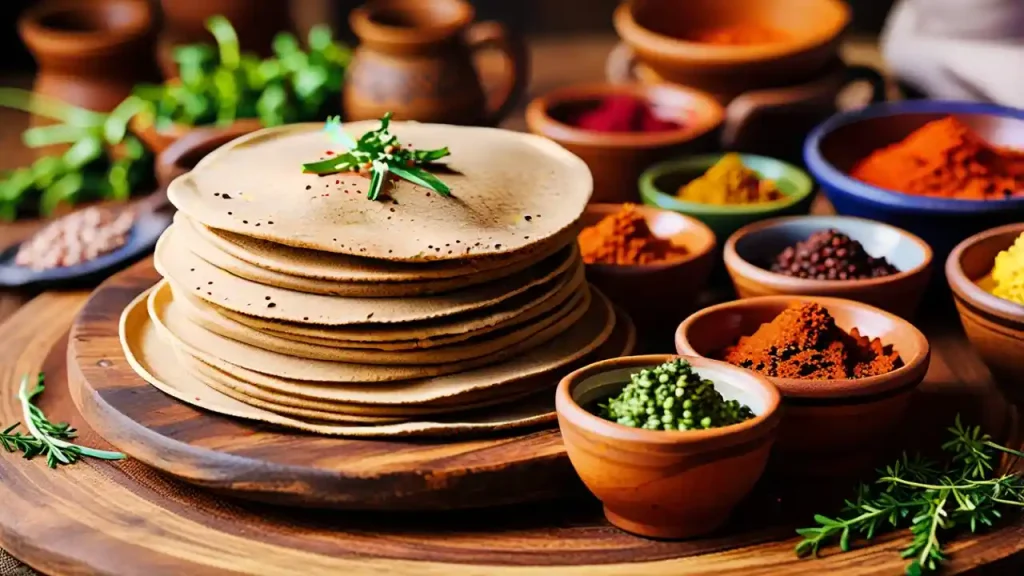
In the world of bread baking, few creations hold the cultural significance or complex flavor of Ethiopian Injera Bread. This traditional East African staple, with its distinctive sour taste and spongy texture, is much more than just a bread; it’s a culinary experience deeply rooted in Ethiopian and Eritrean culture. Made with teff flour, injera undergoes a unique fermentation process that brings out rich, slightly tangy flavors and a satisfying chew.
A Brief History of Injera
Injera has a storied past, stretching back thousands of years, with the first uses of teff grains believed to date to 4000 BC. Teff is a tiny, nutrient-dense grain native to the Ethiopian Highlands, where injera was first made. Because of teff’s hardy nature, it thrives in Ethiopian soil, and over time, this grain became an integral part of Ethiopian cuisine.
What Makes Injera Unique?
Unlike most bread, injera is a naturally leavened flatbread with a bubbly, porous surface that resembles a pancake more than traditional bread. Its characteristic sour flavor comes from the fermentation process, similar to sourdough but with unique nuances due to teff flour’s composition.
Not only is injera delicious, but it’s also a key component in Ethiopian dining, acting as a plate, spoon, and bread all at once. Diners tear off pieces of injera to scoop up stews and dishes placed atop it.
Key Ingredient: Teff Flour
The heart of injera’s flavor lies in teff flour, a gluten-free flour packed with protein, fiber, and iron. Its earthy, nutty taste gives injera its unique profile, and teff is ideal for fermenting due to its fine, absorbent texture. For those interested in the nutritional benefits of teff, check out this comprehensive guide on teff flour and its health benefits.

Injera Baking Essentials
Before diving into injera making, let’s cover the essential tools and ingredients that make the process easier:
- Teff Flour: Opt for 100% teff flour for authentic flavor and gluten-free benefits.
- Large Mixing Bowl: You’ll need a large container for fermenting the teff batter.
- Non-Stick Pan or Large Skillet: A quality non-stick pan is essential for creating the classic injera bubbles.
- Lid: Covering the pan while cooking helps maintain moisture, giving the bread its signature softness.
- Water and Salt: These simple ingredients will enhance the fermentation and balance the flavor.
Step-by-Step Guide to Making Injera
Step 1: Prepping the Teff Batter
To start, mix teff flour and water in a large bowl. The goal is a pancake-like consistency for the batter. Add a pinch of salt to enhance the flavor, and ensure everything is well combined. Cover the bowl with plastic wrap or a clean cloth.
Step 2: The Fermentation Process
The fermentation process is crucial for developing the sour flavor that defines injera. Allow the batter to sit for at least 24 hours at room temperature. Some bakers prefer a longer fermentation—up to 48 hours—to enhance the flavor. Once the batter begins to bubble and has a tangy aroma, it’s ready for cooking.
Step 3: Cooking the Injera
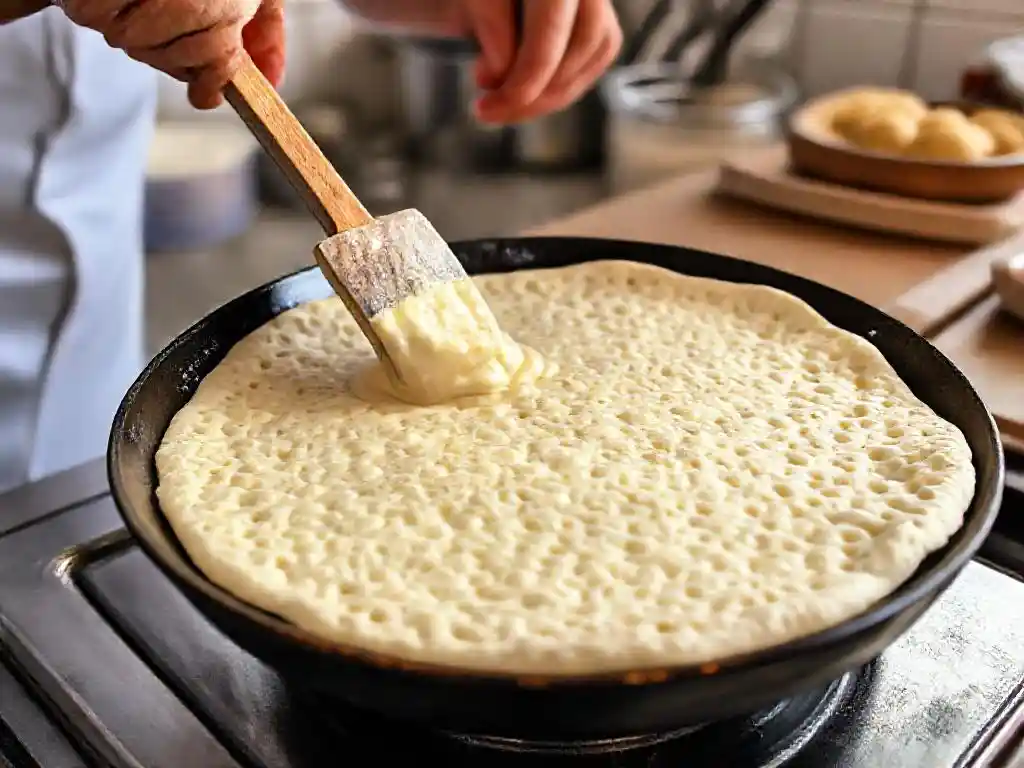
Heat a large non-stick pan over medium-high heat. Pour a ladle of batter onto the pan, swirling to spread it out into a thin layer. Cover the pan with a lid to help steam the bread, cooking it evenly. Look for bubbles to appear on the surface; once they form, the injera is ready.

Serving and Enjoying Injera
Injera is traditionally served as a base for dishes like Doro Wat and Misir Wat. Tear off a piece and use it to scoop up these hearty stews, enjoying each bite’s rich, sour flavor combined with spiced sauces. Try serving injera alongside other unique bread types, like Lavash, for a fun bread-centered meal. Learn how to make Lavash Bread with this guide.
Common Injera Mistakes to Avoid
- Rushing Fermentation: The fermentation step is critical. Shortening the time will reduce the characteristic sour flavor.
- Uneven Heat: Injera needs consistent medium-high heat. Adjust your pan as needed to avoid undercooked or overly crisp bread.
- Overloading the Pan: Pouring too much batter creates a thick injera that won’t cook evenly. Stick to a thin layer for best results.
Related Bread Recipes
If you enjoyed this guide, you may want to explore other unique bread recipes, each with its own texture and flavor profile:
- Lavash Bread: Step-by-Step Guide – Perfect for those who love flatbreads with a crisp, delicate texture.
- Gluten-Free Char Siu Bao – For gluten-free bakers, these BBQ pork buns are a treat.
- Japanese Milk Bread – Enjoy this soft, fluffy bread that’s as delicious as it is versatile.
Conclusion: The Magic of Ethiopian Injera Bread
Injera is more than just a bread; it’s a journey into Ethiopian culture and flavor. From the delicate bubbles on its surface to its deliciously tangy taste, injera offers a culinary adventure that’s as fun to make as it is to eat. By embracing the fermentation process and learning to work with teff flour, you can bring this authentic, flavorful bread to your kitchen. Happy baking!

