Introduction
There’s something undeniably satisfying about baking your own bread, and lavash bread recipe is the perfect starting point if you’re new to bread making or looking for a versatile flatbread to add to your repertoire. This thin, soft, and incredibly flexible flatbread is a staple in many Middle Eastern and Mediterranean cuisines, and now, you can bring this tradition to your own kitchen.
Lavash bread can be used for wraps, served with dips, or even transformed into crispy crackers. This post will walk you through a foolproof lavash bread recipe, with tips, tricks, and step-by-step guidance so you can create perfect lavash at home. Let’s dive into the dough!
Table of Contents:
- Introduction
- What is Lavash Bread?
- Ingredients for Homemade Lavash Bread
- Step-by-Step Lavash Bread Recipe
- Tips for Perfect Lavash Bread
- Why You Should Try Making Lavash Bread at Home
- Lavash Bread Variations
- Conclusion
What is Lavash Bread?
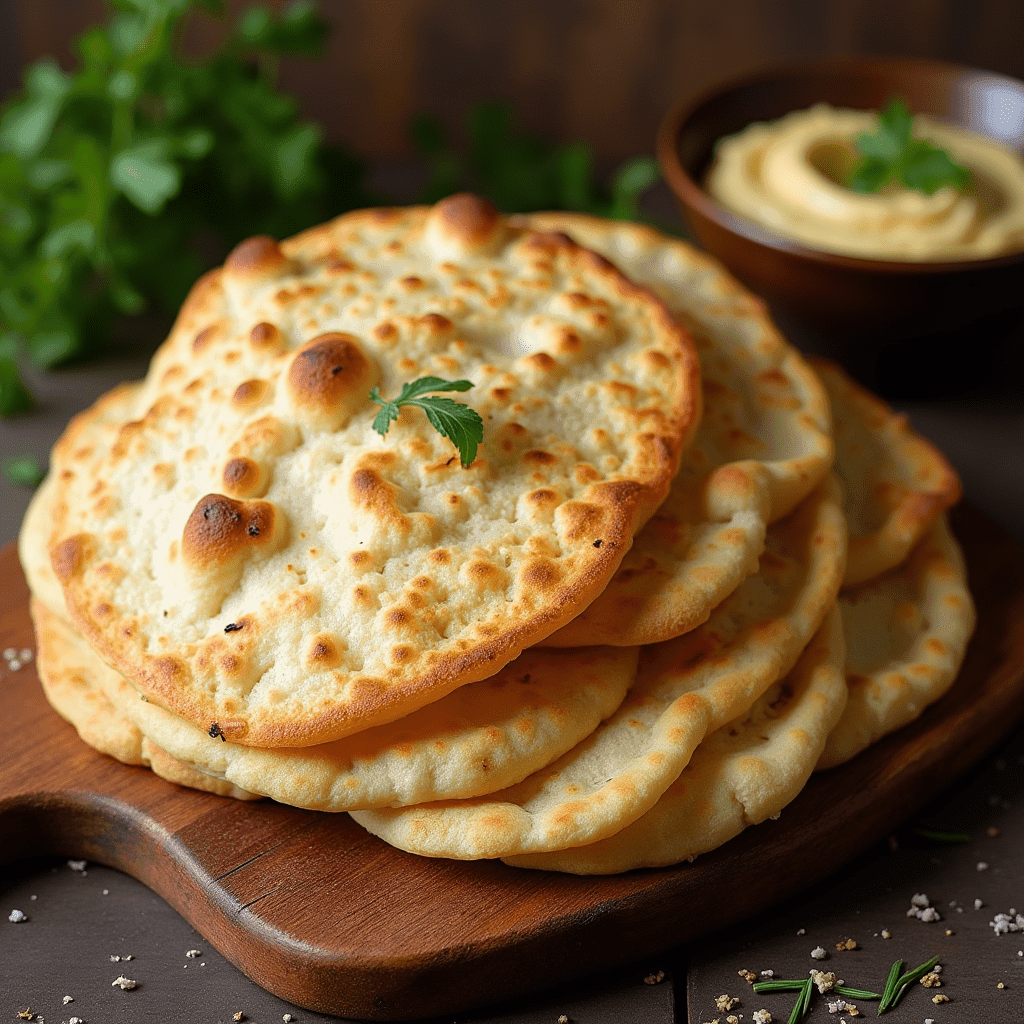
Lavash is a traditional flatbread, often made in a clay oven (though home ovens work just as well). Originating from Armenia and popular in many neighboring countries, lavash bread is known for its thin, soft texture when fresh, and its crispier texture once dried. It’s the bread you reach for when you need something light and adaptable—whether you’re rolling it around your favorite fillings or pairing it with hummus.
The lavash bread recipe has remained relatively unchanged for centuries because it is so simple yet versatile, requiring just a handful of ingredients: flour, water, yeast, and salt. The magic happens when these basic elements come together with the right techniques.
Ingredients for Homemade Lavash Bread
Before you start, gather these simple ingredients:
- 3 cups of all-purpose flour
- 1 cup of warm water
- 1 tablespoon of instant yeast
- 1 teaspoon of salt
- 2 tablespoons of olive oil (optional, for extra flavor)
You likely have all these ingredients in your pantry already, making this lavash bread recipe not only delicious but also cost-effective.
Step-by-Step Lavash Bread Recipe
Let’s break down the process of making lavash bread into manageable steps. This method ensures that even beginners can confidently bake this beloved flatbread.
Mixing and Kneading
Start by whisking together your flour, salt, and yeast in a large mixing bowl. Slowly add the warm water, mixing with your hands or a stand mixer fitted with a dough hook. Once the dough begins to form, knead it on a floured surface for about 8-10 minutes or until it becomes smooth and elastic.
Tip: Kneading is key to gluten development. This is what gives lavash its chewiness, so don’t rush this step! You’ll know the dough is ready when it stretches without tearing.
First Rise
Place your kneaded dough in a lightly greased bowl, cover it with plastic wrap, and let it rise for about 1 hour, or until it has doubled in size. During this time, the yeast will activate, producing carbon dioxide that helps the dough rise, creating a soft and airy texture.
For more tips on the science behind yeast and gluten development, check out this article on yeast fermentation.
Rolling and Shaping
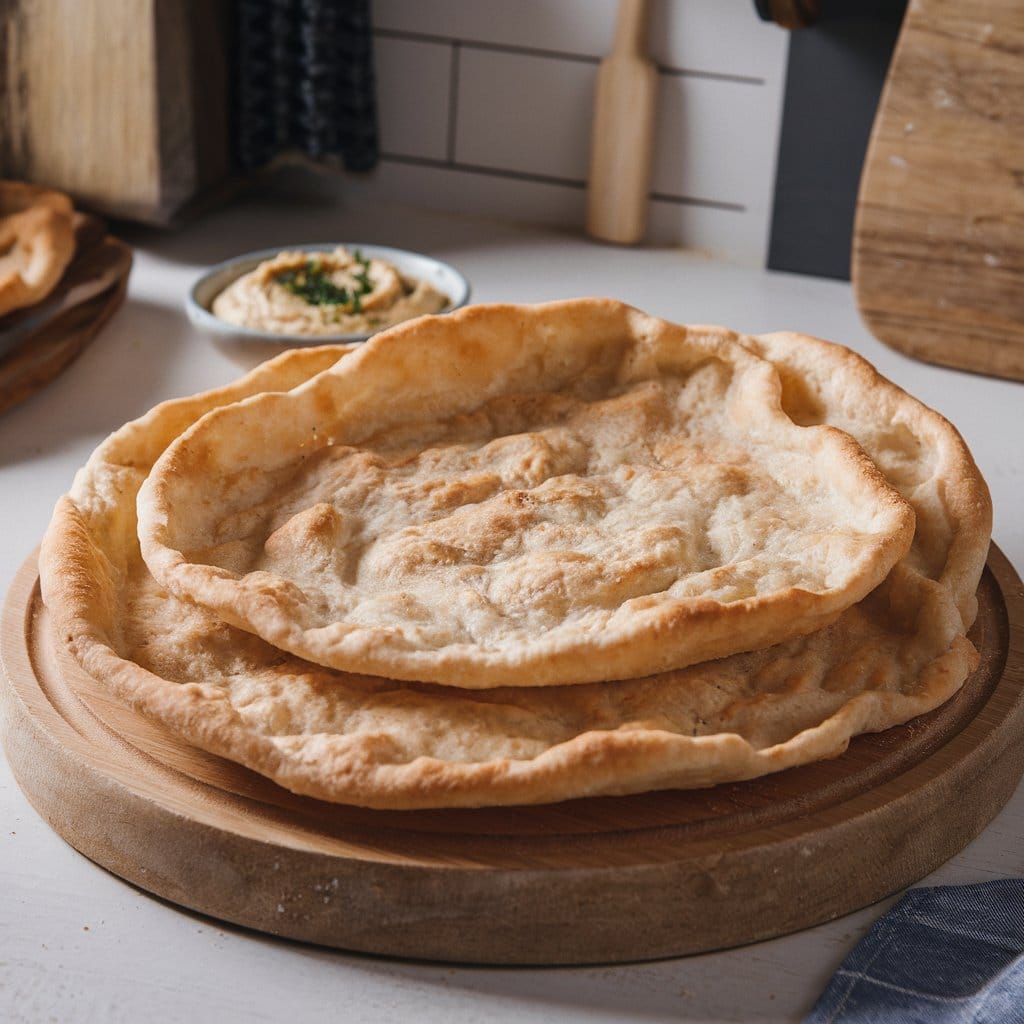
Once the dough has risen, divide it into small balls, each about the size of a golf ball. Roll each ball out on a floured surface into thin circles or ovals. The thinner you roll your lavash, the crispier it will be when baked.
Tip: If you want your lavash soft, roll it slightly thicker. For cracker-like lavash, aim for paper-thin dough.
Baking Lavash
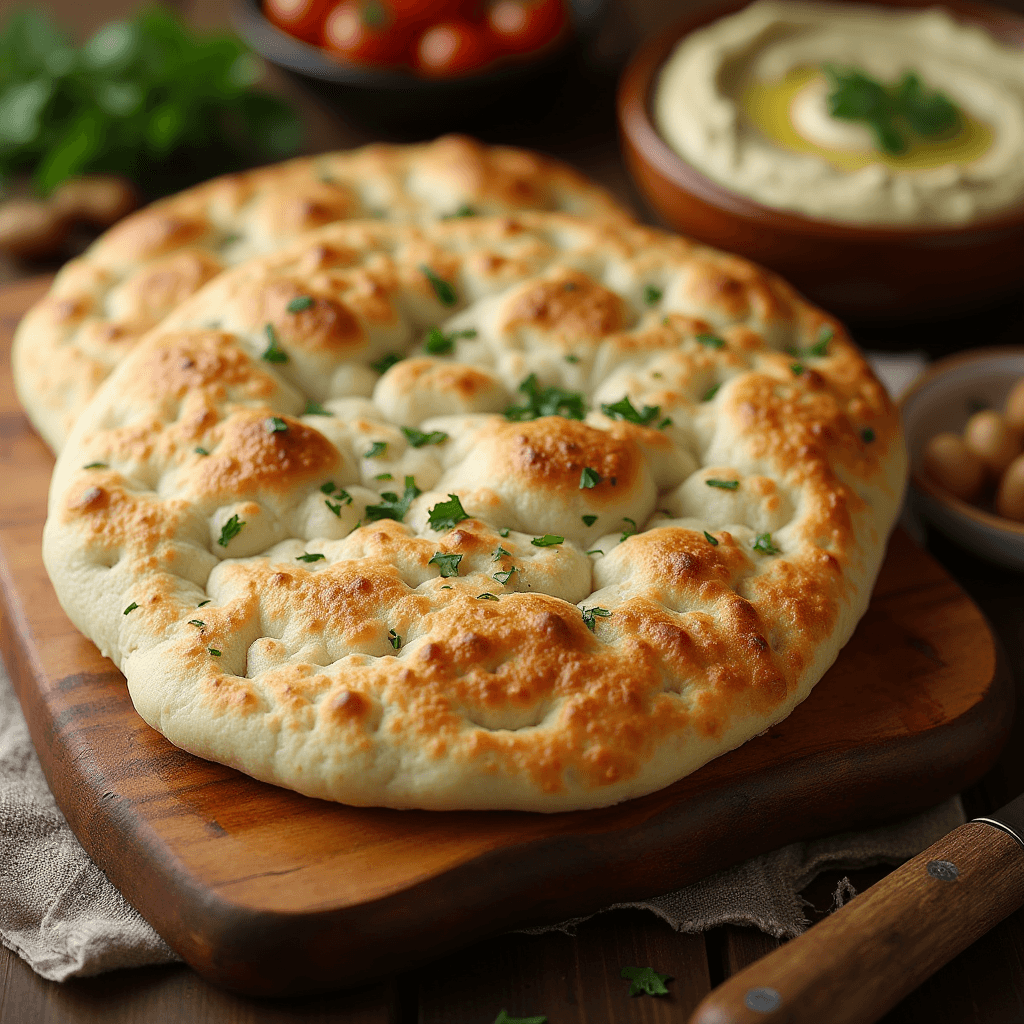
Preheat your oven to 400°F (200°C). If you have a pizza stone, use it to bake the lavash, as it mimics the traditional clay ovens used in the Middle East. Bake each piece for 3-5 minutes, or until the edges start to brown and the surface bubbles slightly.
For a crispy version, leave the lavash in the oven for an additional 2-3 minutes. Keep an eye on them, as they can burn quickly.
Looking for ways to perfect your baking process? Here’s a helpful guide on oven temperature and baking techniques.
Tips for Perfect Lavash Bread
- Hydration Matters: Lavash dough is fairly hydrated, so don’t be tempted to add extra flour during the kneading process, even if it feels sticky. The moisture is what helps create those beautiful bubbles in the bread.
- Avoid Over-kneading: While kneading is crucial, be mindful not to overdo it. Over-kneaded dough can become tough and difficult to roll out thinly.
- Resting is Key: Letting the dough rest before rolling allows the gluten to relax, making it easier to shape. If your dough resists rolling, let it sit for 5-10 more minutes.
- For Crispy Lavash: Extend the baking time slightly for a crispy texture perfect for dipping.
Why You Should Try Making Lavash Bread at Home
Homemade lavash is far superior to store-bought versions. Not only does making it fresh give you complete control over the ingredients, but you’ll also enjoy the satisfaction of creating a traditional bread with deep historical roots. Plus, it’s extremely versatile—use it as a wrap for grilled meats, tear it into pieces to serve with dips like baba ganoush, or bake it into crisp crackers to pair with cheese.
Looking for more bread recipes? Explore our Crispy Focaccia Recipe and Our Homemade Whole Wheat Bread Recipe.
Lavash Bread Variations
Once you’ve mastered the basic lavash bread recipe, feel free to experiment! Here are a few variations to try:
- Herb-Infused Lavash: Add fresh herbs like rosemary or thyme into the dough for extra flavor.
- Sesame Lavash: Sprinkle sesame seeds or nigella seeds over the dough before baking for a Middle Eastern twist.
- Whole Wheat Lavash: Substitute half of the flour with whole wheat for a heartier, healthier bread.
Conclusion
Making your own lavash bread at home is easier than you think. With just a few ingredients and some basic bread-making techniques, you can enjoy this versatile flatbread any time. Whether you prefer it soft and pliable for wraps or crispy for dipping, this lavash bread recipe is sure to become a favorite in your kitchen.
Don’t forget to share your creations with us and stay tuned for more bread-making tips and recipes!
1 thought on “Lavash Bread: A Step-by-Step Guide to Baking at Home”