Table of Contents
- Introduction
- What is Pav Bhaji Bread?
- Ingredients
- Equipment Needed
- Preparation Steps
- Cooking Instructions
- Tips for Perfect Pav Bread
- Serving Suggestions
- Storing and Reheating
- Conclusion
Introduction
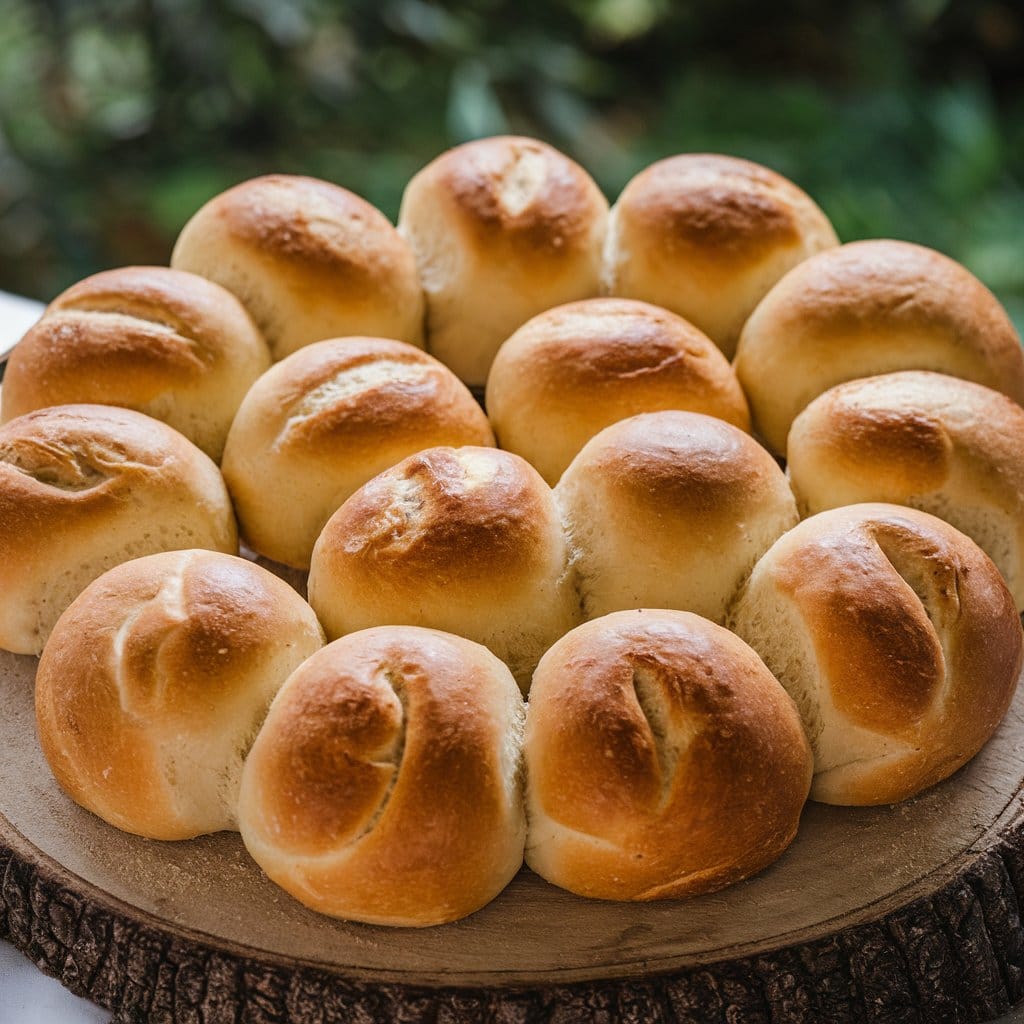
Pav bread is an integral part of Mumbai’s street food scene, especially as the perfect companion to spicy bhaji. This homemade pav bhaji bread recipe will guide you through creating these soft, fluffy rolls in your own kitchen. Whether you’re an experienced baker or new to bread-making, this recipe will help you achieve authentic pav bread that rivals any you’d find on the streets of Mumbai.
What is Pav Bhaji Bread?
Pav is a small, soft bread roll that originated in Mumbai, India. It’s a crucial component of many popular Indian street foods, most notably pav bhaji, where it’s served alongside a spicy vegetable curry. The bread’s slightly sweet flavor and pillowy texture make it perfect for soaking up flavorful sauces and curries.
Pav bread is just one of the many world’s best bun specialties that have gained international recognition. Its unique texture and versatility have made it a favorite not only in India but around the globe.
Ingredients
For 12 pav rolls:
- 3 cups (375g) all-purpose flour
- 1 tsp (5g) active dry yeast
- 1 tsp (5g) sugar
- 1 tsp (6g) salt
- 2 tbsp (30ml) vegetable oil
- 1 cup (240ml) warm milk (110°F/43°C)
- 1/4 cup (60ml) warm water (110°F/43°C)
- 2 tbsp (30g) unsalted butter, melted (for brushing)
Note: All ingredients should be at room temperature unless specified otherwise.
Equipment Needed
- Large mixing bowl
- Wooden spoon or stand mixer with dough hook
- Clean kitchen towel
- 9×13 inch baking pan
- Pastry brush
- Wire cooling rack
Preparation Steps
- In a small bowl, combine the warm water, sugar, and yeast. Let it sit for 5-10 minutes until frothy.
- In a large mixing bowl, combine the flour and salt.
- Make a well in the center of the flour mixture and add the yeast mixture, warm milk, and oil.
- Mix the ingredients until they form a shaggy dough.
Cooking Instructions
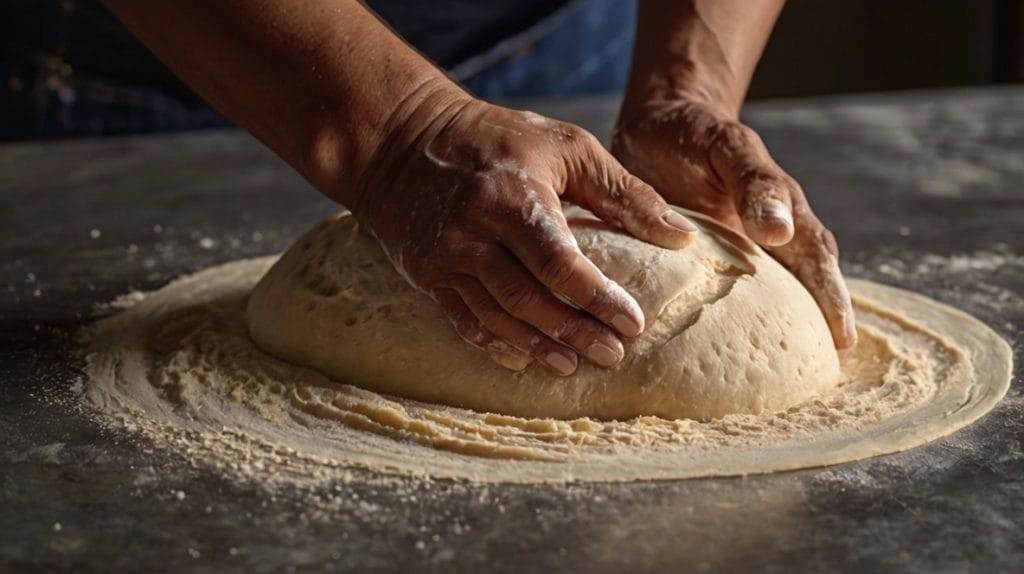
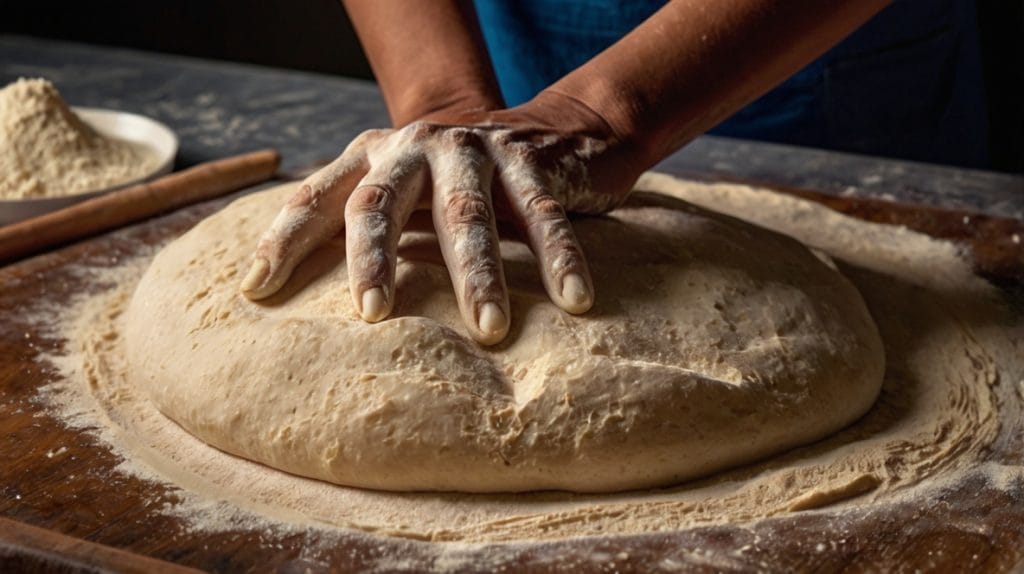
- Knead the dough on a lightly floured surface for about 8-10 minutes, until smooth and elastic. If using a stand mixer, knead with the dough hook on medium speed for 6-8 minutes.
- Place the dough in a lightly oiled bowl, cover with a damp kitchen towel, and let it rise in a warm place for about 1 hour, or until doubled in size.
- Punch down the dough and divide it into 12 equal portions (about 60g each).
- Shape each portion into a smooth ball and arrange them in a greased 9×13 inch baking pan, leaving some space between each roll.
- Cover the pan with a damp kitchen towel and let the rolls rise for another 30-40 minutes, or until puffy.
- Preheat your oven to 375°F (190°C).
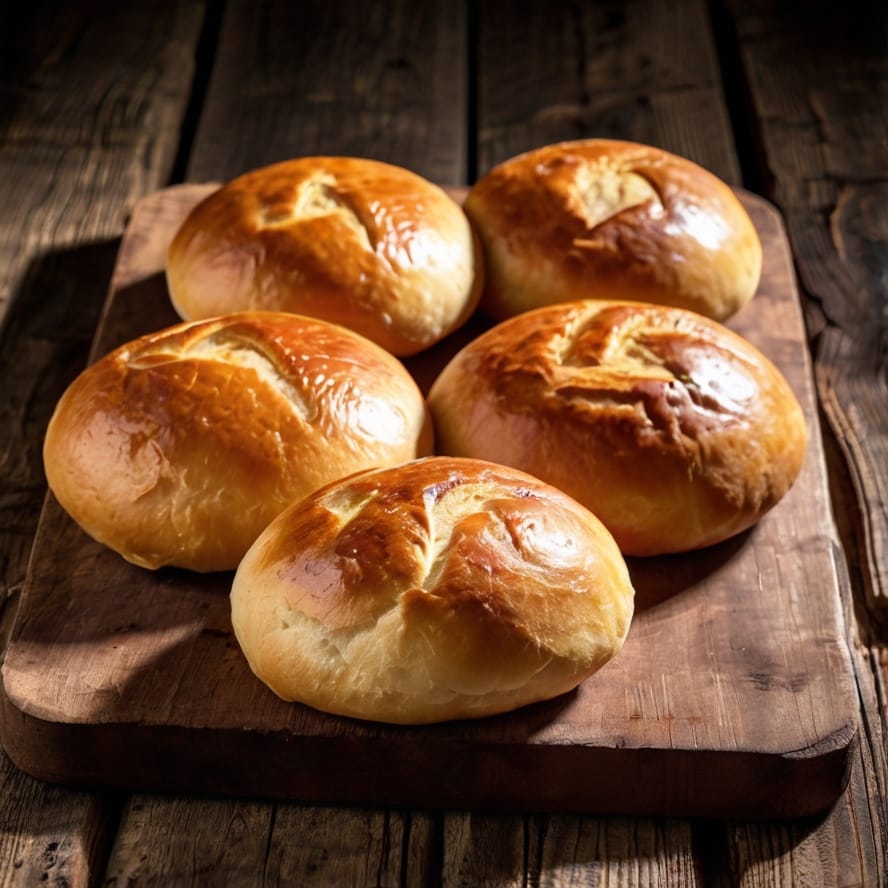
- Bake the pav for 20-25 minutes, or until golden brown on top.
- Remove from the oven and immediately brush the tops with melted butter.
- Allow to cool in the pan for 5 minutes, then transfer to a wire rack to cool completely.
Tips for Perfect Pav Bread
- Use warm milk and water to activate the yeast properly. The ideal temperature is around 110°F (43°C).
- Don’t rush the rising process. Proper proofing is key to achieving soft, fluffy pav.
- For a shinier crust, you can brush the tops of the rolls with an egg wash (1 beaten egg mixed with 1 tablespoon of water) before baking.
- To achieve the classic square shape of pav, place the rolls close together in the baking pan so they touch as they rise and bake.
- For a softer crust, cover the rolls with a clean kitchen towel as soon as they come out of the oven.
Serving Suggestions
Pav bread is incredibly versatile and can be enjoyed in many ways:
- Classic Pav Bhaji: Serve with spicy vegetable bhaji for the ultimate Mumbai street food experience.
- Vada Pav: Another popular street food where the pav is stuffed with a fried potato patty and chutneys.
- Dabeli: A sweet and spicy potato filling served in pav, originating from Gujarat.
- Butter and Jam: Slice the pav in half, toast it, and enjoy with butter and your favorite jam for a simple breakfast.
Pav is just one of the many different types of buns that can elevate your meals. Its versatility makes it a great addition to any bread basket.
Storing and Reheating
- Store cooled pav bread in an airtight container at room temperature for up to 2 days.
- For longer storage, freeze for up to 3 months. Thaw at room temperature before using.
- To reheat, wrap the pav in aluminum foil and warm in a 300°F (150°C) oven for about 10 minutes.
- For a crispy exterior, slice the pav in half and toast in a pan with a little butter.
Conclusion
Congratulations! You’ve mastered the art of making authentic Indian pav bhaji bread at home. This homemade pav bhaji bread recipe allows you to enjoy the soft, fluffy rolls anytime, bringing a taste of Mumbai’s vibrant street food scene to your kitchen. Whether you’re pairing it with spicy bhaji or enjoying it on its own, these pav rolls are sure to become a new favorite in your bread-making repertoire.
Remember, practice makes perfect. Don’t be discouraged if your first batch isn’t exactly like the pav you remember from the streets of Mumbai. With each bake, you’ll refine your technique and soon be creating pav that rivals any you’d find in India.
Happy baking, and enjoy your homemade pav bhaji bread!
External Resources:
- For more on the history of pav bhaji, check out this article from Indian Food Forever: https://www.indianfoodforever.com/indian-street-food/pav-bhaji.html
- Discover more Indian bread recipes from the Times of India: https://timesofindia.indiatimes.com/life-style/food-news/12-types-of-indian-breads-you-should-know-about/photostory/69324973.cms